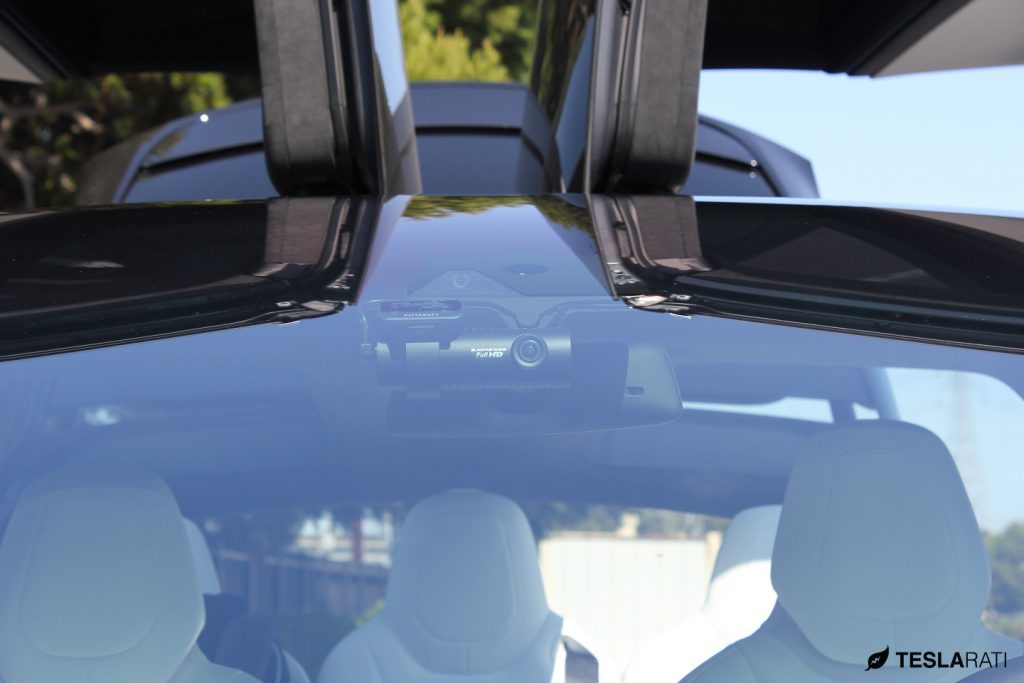
If you’re reading this, you’ve likely invested into arguably one of the most high-tech gadgets ever experienced in your life – a Tesla Model X.
And if you’re anything like us, you’re probably wondering why Tesla included bells and whistles beyond what’s imaginable yet skipped out on a simple dashcam solution. After all, it’s widely known that a front and rear 2-channel dashcam is the best way to capture those beautiful Tesla road trip moments while also protecting yourself from unwanted circumstances.
Following our popular installation guide on how to install a BlackVue DR650GW-2CH dashcam on the Model S sedan, we decided to highlight some of the intricacies with accomplishing the same type of install on the Tesla Model X.
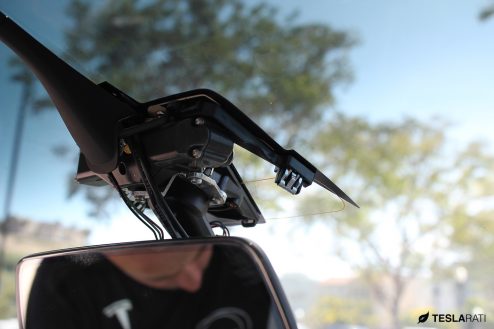
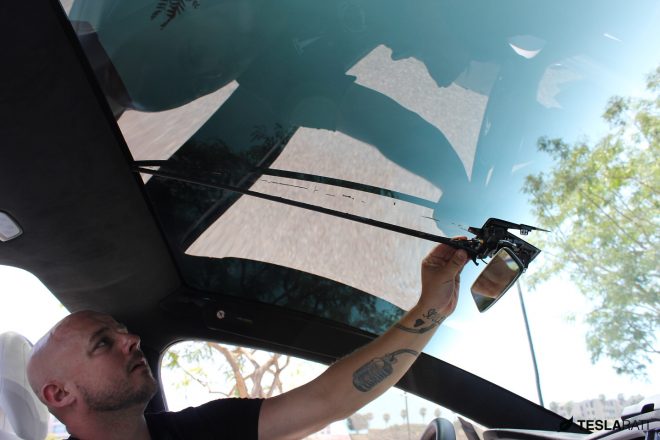
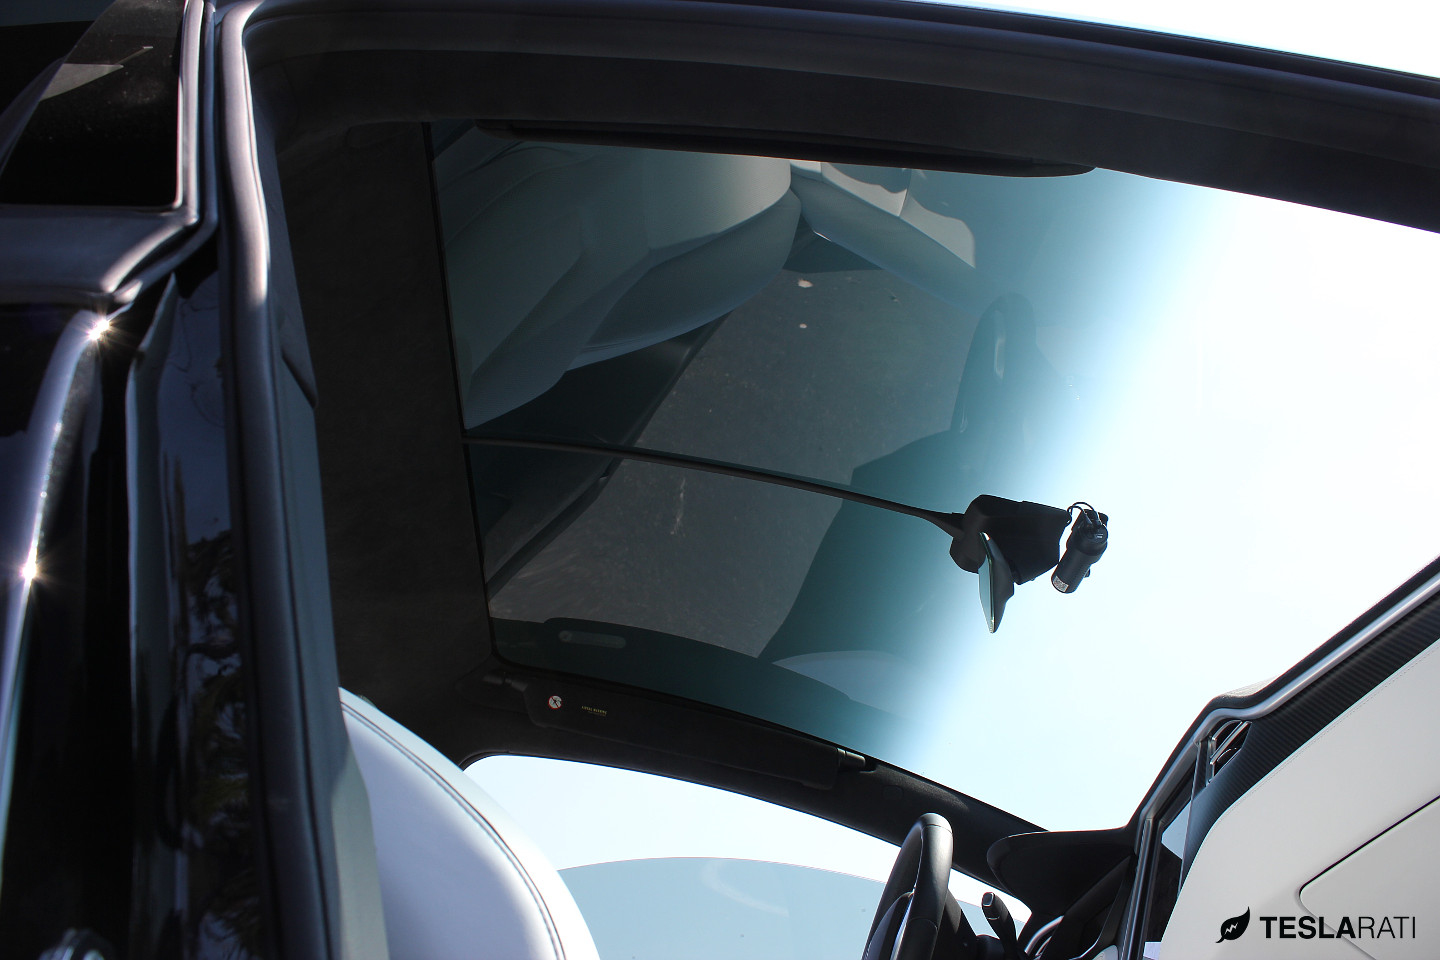
Unlike the Model S, the biggest challenge with accomplishing an elegant dashcam installation on the Model X is how to run wire across the vehicle’s expansive panoramic windshield. Though the original intention was to post a step-by-step installation guide like we did with the Model S, I have to preface this article by saying that we attempted to do it ourselves (most of it), but then sought professional help after being concerned over breakage of the thin plastic wire conduit that runs along the length of the windshield starting from the rear view mirror housing. That said, we’ll highlight important areas of the install, but would like to qualify the story by saying that we do recommend a professional installer.
BlackVue DR650S Full HD Front + Rear Camera
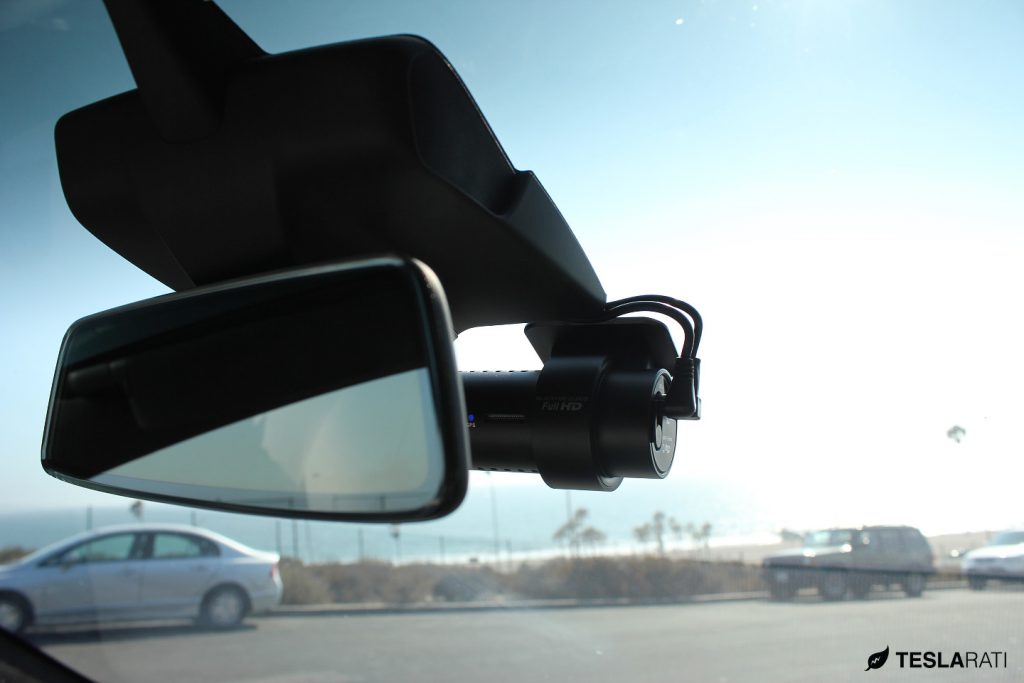
We picked up one of BlackVue’s newest Full HD DR650S 2-channel dashcams which shares very similar specifications with the popular DR650GW-2CH among Tesla owners, but has better rear camera controls. Everything else is virtually identical especially the form factor. The latest DR650S looks exactly like the DR650GW: same compact size, same premium feel, and the same front and rear bitrates – 10Mbps (front) and 5Mbps (rear).
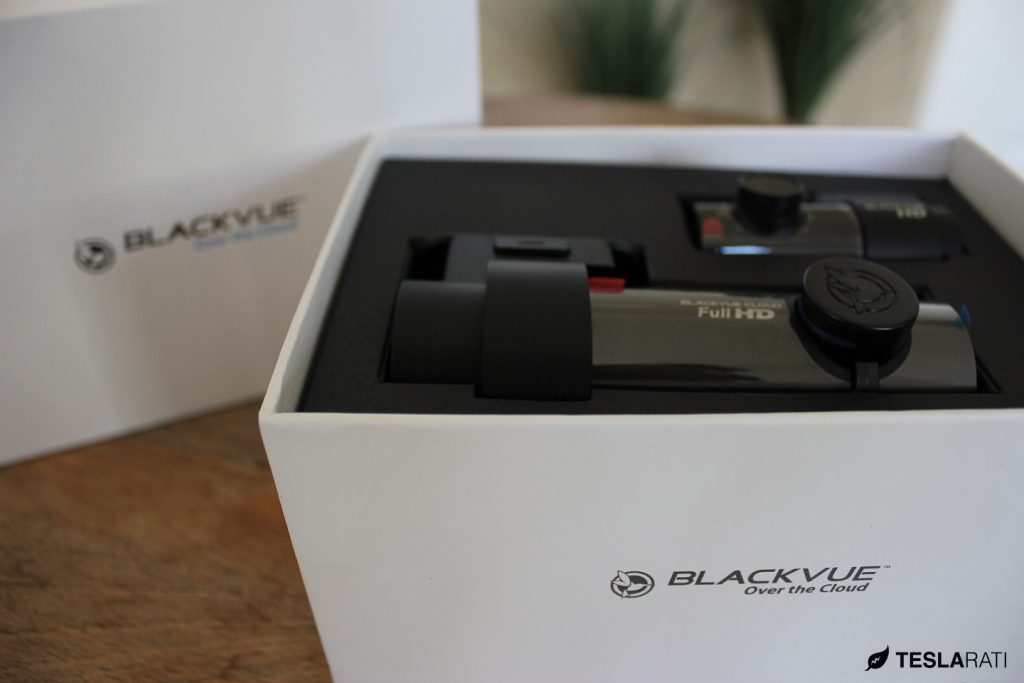
BlackVue’s DR650S-2CH uses a more compact box design than the previous DR650GW.
The DR650S-2CH includes both a Full HD 1080p front camera using Sony’s EXMOR CMOS sensor that’s capable of capturing footage at 30fps and a HD 720p rear camera. Beyond the technical jargon, the cameras simply shoot in amazing quality but also with a useful wide angle of view (129 degrees). Most Tesla owners that have BlackVue cameras, even the older generation DR650GW, will swear by it.
That Panoramic Windshield
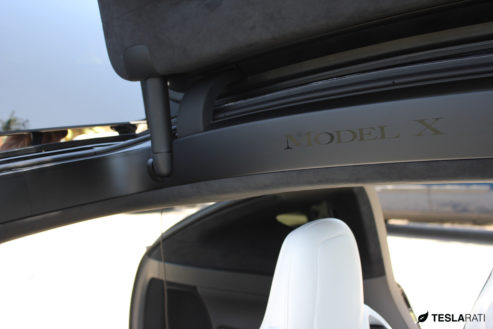
The most difficult part with installing a Tesla Model X dashcam is how to run wires to the front facing camera. In specific, how does one seamlessly run wire across an expansive all-glass panoramic windshield that doesn’t have much of a headliner? Adding to the challenge, the Model X is also equipped with a front facing Autopilot camera stashed away inside the rear view mirror housing – something you obviously have to tread delicately around. Power to that Autopilot camera is run through a thin plastic conduit that sticks onto the windshield with double-sided (extra-sticky) sticky tape.
In order to install our BlackVue front camera in this location, we had two options to run our wiring. We could either run the BlackVue power cord alongside the factory conduit, which frankly would have made the job very simple with the trade off of having a visual eye sore, or run the wire beneath the conduit making for an absolutely seamless factory look. We chose the later.
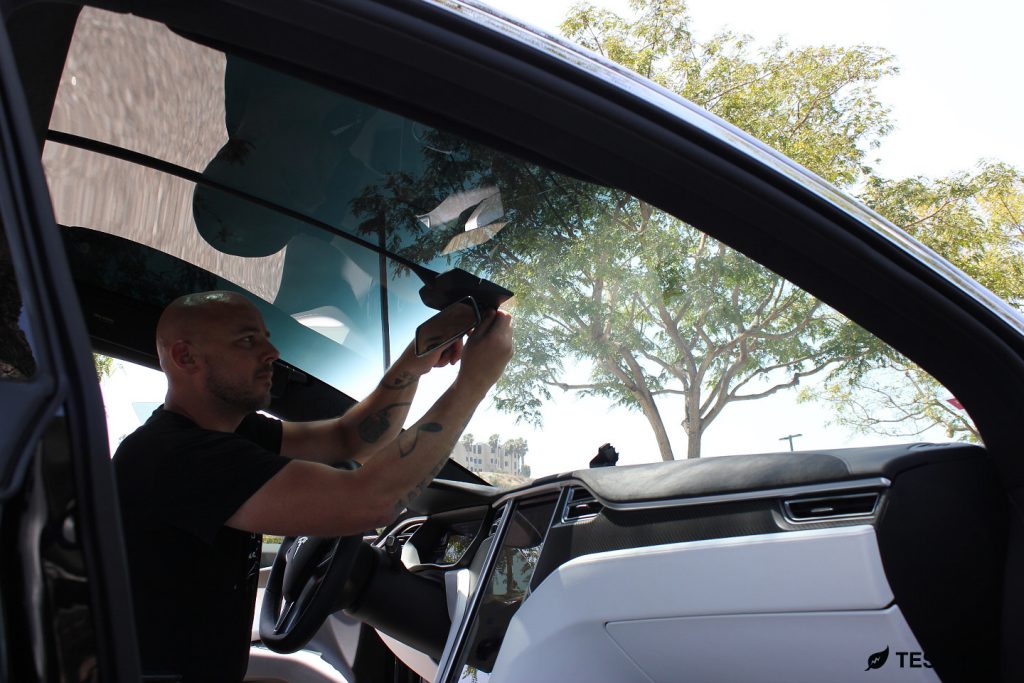
The Model X dashcam guru: Johnny at Calibred Customs
A quick search for “BlackVue” on the Tesla Model X Facebook group led us to Johnny at Calibred Customs of Los Angeles who apparently has become the Model X dashcam guru, and rightfully so. After speaking with him, we learned that he isn’t much of an internet or email guy, so phone calls and text messages are best, but more importantly we learned that we would become the eight Model X that he would be assisting with installation of a front + rear BlackVue dashcam. Okay, that sounds reassuring. Let’s do this.
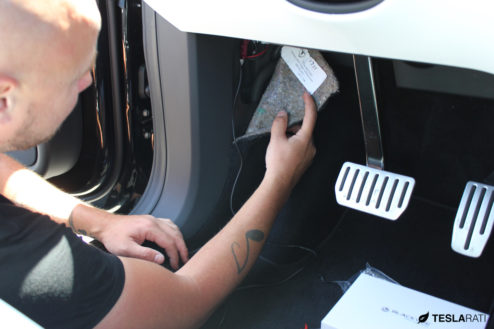
Tips On Model X Dashcam Installation
As mentioned earlier, we won’t go into all of the details with installation simply because we didn’t do all of it, but we learned a few great tips that may help the adventurous DIY’er tackle the job.
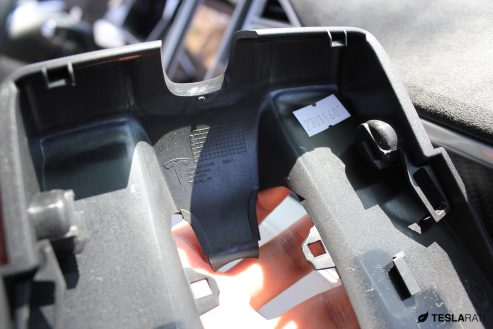
Front Mirror Housing
There are metal clips behind the plastic rear-view mirror housing. The housing itself can be gently pried open but be wary of the electronics behind the housing. That’s your Autopilot camera!


Wire Conduit
We wanted to make our BlackVue DR650S as factory-looking as possible so Johnny helped us run the power line and rear camera cable directly underneath the factory Model X conduit. There’s a few key points to keep in mind when doing so. One must carefully lift and detach the plastic conduit from the windshield, while being carefully not to break it. Once the conduit is off the windshield, run the dashcam wires inside of it and reattach the entire assembly back onto the windshield. Assuming you didn’t touch the factory adhesive with your fingers or dirty the existing double-sided sticky tape, one can secure the entire track back onto the windshield without the need for a replacement.
If done correctly, the end result is nothing short of spectacular, but we’d leave this portion to a pro.

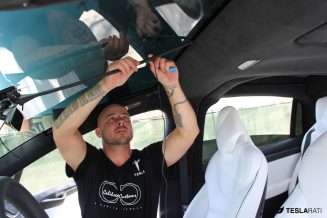
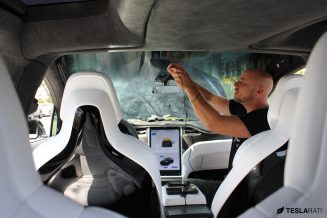
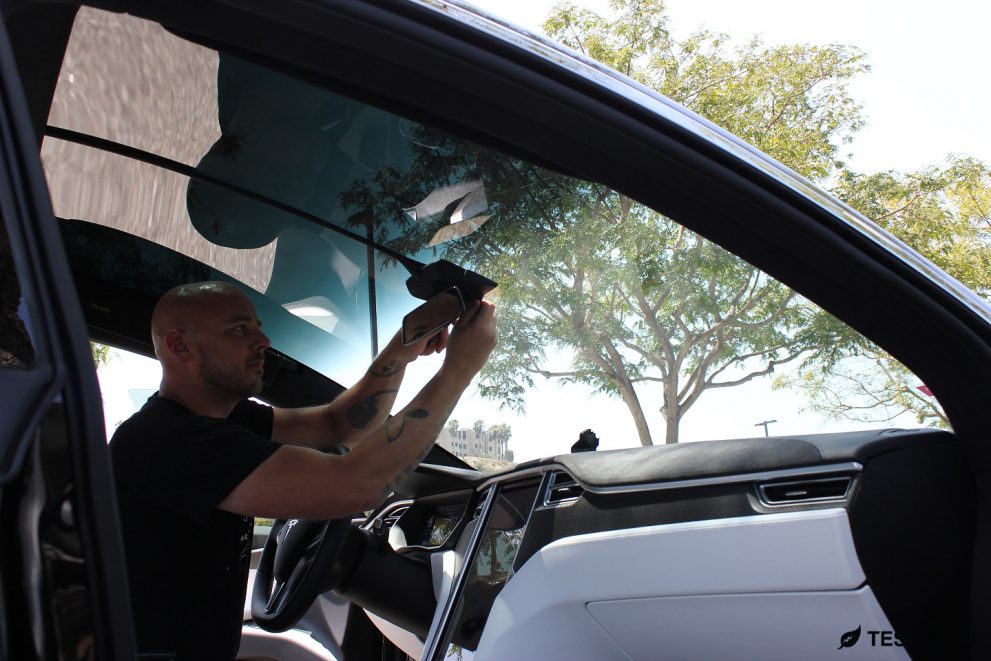
Running Wires
Since the BlackVue dashcam is equipped with a fantastic motion detector that activates recording when triggered, we decided to run the camera as always-on in order to provide our Model X with a little extra coverage when unattended. But instead of building a new OBD-II connector like we did when working on the Model S dashcam installation, we tapped power in the same vicinity, this time using a quick-disconnect connector.
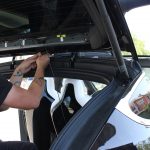
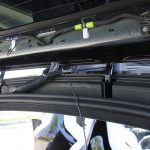
Running the cable that connects the front camera with the rear can be routed along the headliner and tucked underneath the weather stripping. The wire will run across the “backbone” of the Model X and terminate near the rear hatch.

Keep It Clean
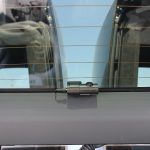
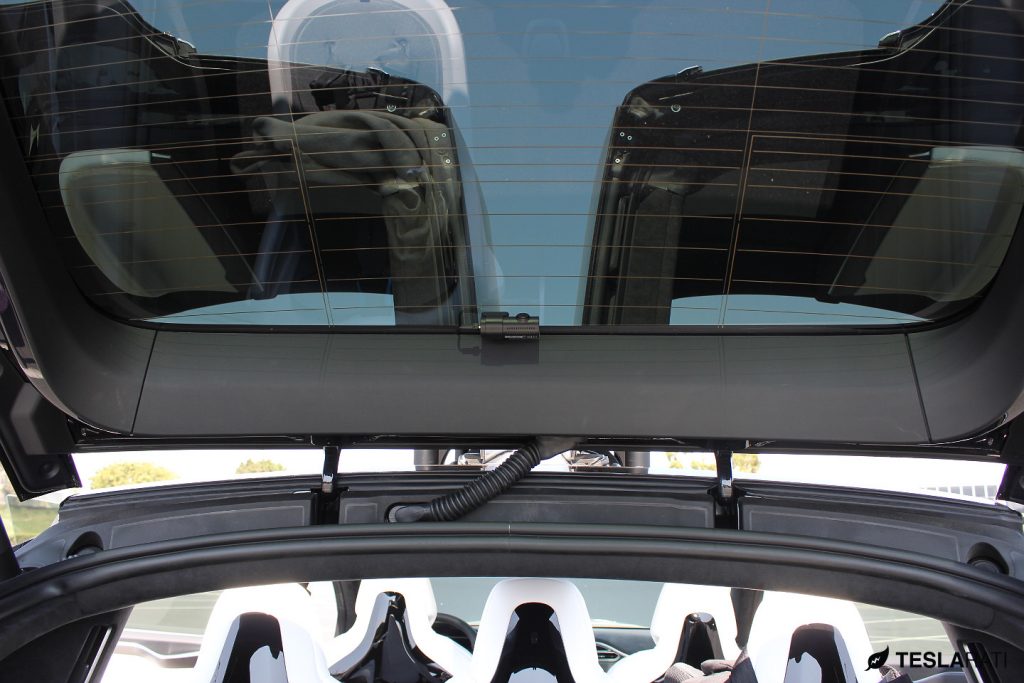
By now, most of the install is complete and it’s just a matter of mounting the rear camera to the upper portion of the rear windshield, and connecting the front camera cable to it. We had previously skipped out on running the camera cable through the rubber grommet in the rear hatch because of the level of difficulty, but since we had Johnny the pro by our side, we asked him if he could handle it for us.
With the cable routed through the factory grommet, our Model X dashcam solution using the new BlackVue DR650S-2CH couldn’t have looked cleaner.
Summary
BlackVue has really refined their services since Firmware 2.0.0.0 that introduced cloud compatibility for the older DR650GW and now with the new DR650S. Their mobile app now allows for real-time streaming of the front and rear cameras directly from your phone. They’ve also added the ability to automatically download the videos over WiFi to their cloud service called BlackVue Cloud. Those with personal hotspots or in-vehicle WiFi will have the ability to automatically sync recordings into the cloud, but also remotely connect to the car via a mobile app and view, through the eyes of the front and rear cameras, what’s around the vehicle.
In true BlackVue fashion, the video quality in all lighting conditions is spectacular though tinted rear windows could hinder video quality in low lighting. Similar to previous cams, the DR650S is also equipped with parking mode designed to trigger recording by way of motion detection. It’s really meant to serve as additional protection in the event of vandalism or a hit and run.
Having a dashcam on your beloved Model X is a great way to capture life’s electric road trip moments. We’ll provide sample video and cover some commonly used features of the BlackVue DR650S-2CH in a follow up post. Stay tuned.
